
How to Clean Ceiling Fans and Air Vents Without Redistributing Dust
eiling fans and air vents are easy to ignore because most of what collects on them sits above eye level. A fan blade can look clean from below while carrying a gray layer on top, and a vent grille may hold lint along every narrow opening without looking especially dirty from across the room.
The challenge is what happens once that buildup is disturbed. Quick swipes can send fine particles onto bedding, furniture, shelves, and floors, turning one small task into several more.
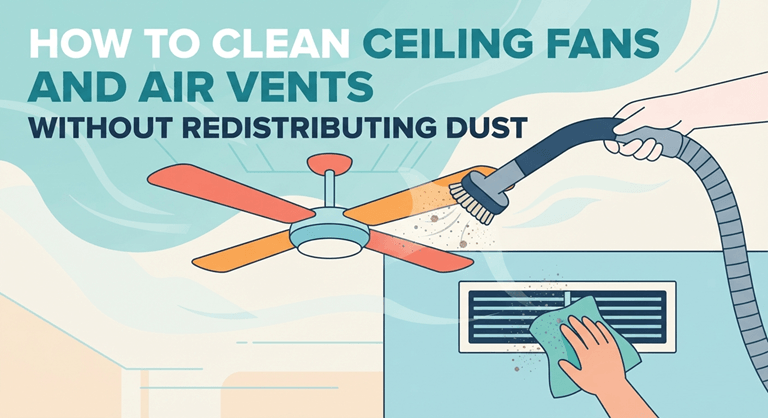
A better approach is slower and more deliberate. Keep the room calm, contain what falls, clean the elevated features before the lower ones, and avoid dragging dirty tools from one room to another.
Prepare the Space Below Before Reaching Up
A heavily coated fan may release some debris even with careful handling.
Move small objects from directly underneath it. If a bed, upholstered chair, desk, or electronics setup sits below, covering it temporarily can save time later.
There is no need to strip the room.
A washable sheet or other simple covering is usually enough for the few items most likely to catch falling particles.
If GlennMo Home Services is expected later, a quick note about the fan or vent that needs the most attention is more useful than treating every elevated feature as equally dirty.
Still Air Makes the Job Easier
Cleaning while the fan is running is obviously impractical, but other air movement matters too.
A strong HVAC stream or open window can carry loosened material farther through the room than expected. Where practical, choose a quieter moment.
Once the blades have stopped and the air is relatively still, what comes off the fan tends to remain close to the work zone instead of drifting toward the opposite wall.
Normal airflow can resume after the room has been finished.
Microfiber Works Better Than a Fast Flick
Some traditional dusters scatter more than they collect.
Microfiber usually does a better job of holding onto the fine gray layer found on fan blades. A clean pillowcase can also work well when the buildup is heavier.
Slide the case over one blade, press lightly, and pull it back while keeping the loosened material inside.
The motion should be controlled rather than forceful.
There is no benefit in bending a blade or shaking loose more debris than the cloth can capture.
Most of the Buildup Sits Where You Cannot See It
The top of the fan blade usually carries much more than the underside.
Work from the center outward, using a clean section of cloth as needed.
If the blade comes clean with a dry pass, stop there.
A slightly damp microfiber cloth may help with a stubborn film, but only if the blade material can tolerate moisture. Some finishes can swell, warp, or change appearance when they are over-wet.
In many cases, patience does more than extra product.
The Center Housing Needs Different Treatment
The motor housing, pull chains, and attached light components do not need the same treatment as the blade.
Loose particles can be removed gently from accessible exterior parts.
If the fan includes a light, switch it off and allow the bulbs to cool before working around the fixture.
Glass shades may need a different cloth from painted or metal pieces.
Spraying cleaner upward is rarely helpful. A lightly treated cloth offers much more control around electrical components.
Vent Grilles Respond Better to Suction
A vent cover has narrow slots that are awkward to wipe with a broad cloth.
A vacuum fitted with a soft brush attachment can lift loose material from the grille and outer frame without pushing it deeper into the opening.
If a faint film remains afterward, the accessible cover may need a light wipe.
Keep moisture controlled.
The visible grille is part of ordinary room cleaning. Debris farther inside the duct belongs to a different kind of maintenance and should not be chased with long household tools.
Finish One Room Before Carrying the Tools Elsewhere
One of the easiest ways to spread debris is to use the same loaded cloth from room to room.
Fold microfiber so fresh sections are available. Replace it once the fabric is saturated.
The same applies to vacuum attachments and protective coverings.
This room-by-room approach also gives cleaning services las vegas a natural place in the workflow: complete one contained space, collect what fell, then move on rather than carrying particles from one fan or grille into the next room.
That small change keeps the mess from travelling with the equipment.
Nearby High Ledges Are Worth a Quick Glance
A clean fan beneath a dirty curtain rod may not stay clean for long.
Since the long-handled tools are already out, glance at the top of the nearest door frame, tall shelving, curtain hardware, or wardrobe.
Only deal with what actually shows buildup.
This should not turn into a full deep-cleaning project.
It is simply practical to remove an obvious source sitting directly beside the fan or vent before lowering your tools.
Give the Room a Few Minutes Before Finishing Below
Even careful work can release a small amount of airborne material.
After the fan, grille, and nearby high ledges are done, leave the room undisturbed for a few minutes.
Then wipe the furniture or shelves underneath with a fresh cloth.
That short pause lets whatever was loosened settle naturally instead of forcing you to chase particles while they are still moving.
Lower surfaces become the collection stage, not a second cleaning project.
Floors Should Be Last
The floor is where the remaining debris is most likely to end up.
Vacuum around baseboards, furniture legs, and the space directly below the fan.
If a protective sheet was used, lift it carefully from the corners so what it caught stays contained.
On hard flooring, remove loose material before any damp cleaning.
This order saves time because the room is finished only once, from high level down to the floor.
Let the Room Tell You When It Needs Attention Again
Fans and vent covers do not need the same frequency as countertops or bathroom sinks.
One bedroom fan may collect a visible gray edge quickly, while another stays clean for much longer.
Pets, open windows, room traffic, and how often the fan runs all influence the pace.
Instead of following a rigid calendar, glance upward occasionally.
When the blade edge darkens or the grille starts looking coated, it is time.
For future work, GlennMo Home Services can also be directed toward the rooms where these high surfaces accumulate material fastest rather than treating the whole house on the same cycle.
Know When It Is No Longer a Cleaning Issue
Visible lint on a grille or a gray coating on fan blades belongs to ordinary upkeep.
Reduced airflow, unusual sounds, strong odors, repeated staining around a vent, or heavy material deeper inside the system are different.
Those signs may point to maintenance rather than cleaning.
Trying to solve them with a longer brush or more aggressive wiping can create more problems than it fixes.
A Cleaner Room Starts With Keeping the Mess in One Place
The hardest part of cleaning a ceiling fan or vent is not removing what has collected there. It is keeping that material from travelling across the room while you do it.
Still air, clean microfiber, gentle suction, and a sensible high-to-low order make that much easier.
Once the elevated features are handled, the rest of the room should need only a brief finishing pass—not another full cleanup caused by everything that was knocked loose above.
Popular on OTW Right Now!




About The Author

Gagan Bhangu
Founder of otechworld.com and managing editor. He is a tech geek, web-developer, and blogger. He holds a master's degree in computer applications and making money online since 2015.