
How to Validate Public Folder Migration Success in Microsoft 365
The end of Microsoft support for Exchange Server 2019 and earlier versions has prompted users to migrate to more robust options to ensure data integrity and security. Two options are in the fray. One of them is to migrate your Exchange mailboxes and public folders to Exchange Server Subscription Edition (SE).
The second option is to migrate to the cloud, such as Microsoft 365. The first choice will keep your data on-premises on a subscription-based model, the second alternative. The second option will mitigate the exposure of your public folders and mailboxes to vulnerabilities and mail flow penalties.
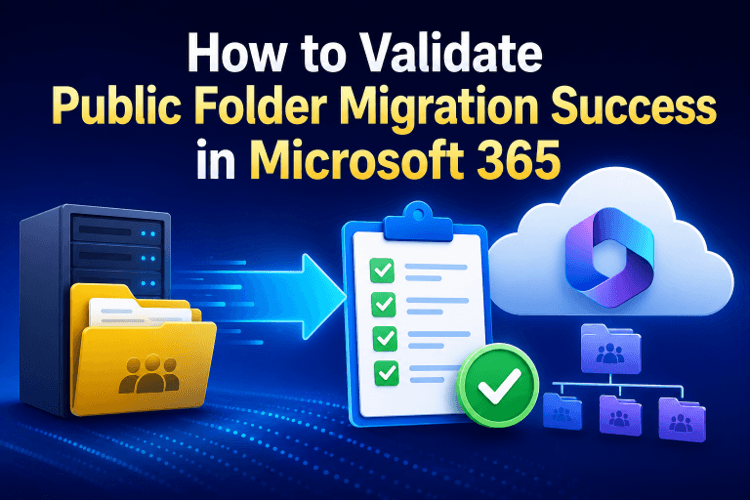
Whatever method you choose, validating the migration is crucial for the success of the entire process. Staying on topic, this blog discusses migrating the public folder to Microsoft 365, followed by validation. To start with, let’s explore the need to migrate Exchange Server components.
What is the need for Exchange migration?
As discussed in the introduction, this is the conclusion of Microsoft’s support for legacy versions. Microsoft has ended mainstream support for Exchange Server 2019 and earlier versions. So if you have any of these versions, migrating to Microsoft SE or Microsoft 365 is a smart move.
Using on-premises public folders is fine to perform your organizational tasks if you want complete control over your Exchange infrastructure. This will require you to migrate to the subscription-based Microsoft SE model.
But if you want to reduce the overhead associated with on-premises infrastructure management, you should switch to the cloud. Here are more points to compare between the two options.
Microsoft Subscription Edition (SE) vs Microsoft 365
You may opt for the subscription-based Microsoft SE if you want to stay on-premises while moving away from the earlier versions. But it will require you to completely manage the infrastructure, backups, security, and updates manually.
However, if you do not want to manage the Exchange infrastructure and want to get automatic updates, migrating to the cloud is preferable. It will free you from maintaining Exchange servers and reduce downtime risk. While both environments have their own capabilities, selecting one depends on your specific requirements.
How to migrate public folders to Microsoft 365?
To migrate public folders to Microsoft 365, you can use the batch public folder migration process by Microsoft. This method will create a mailbox migration request for every public folder mailbox that will exist in Microsoft 365. Multiple requests will lead to faster execution, enabling the migration process to use available network bandwidth more efficiently. In addition, it will also reduce the chance of a bottleneck or a single failure influencing the entire migration, making it more reliable. Here are the crucial points associated with this migration method:
- Start migration: Use the cmdlet New-MigrationBatch in the Exchange Online PowerShell to begin the migration task.
- Monitor progress: Use the Exchange Admin Center (EAC) to track the migration’s progress and completion on the mailbox migration page.
- Generate migration reports: Open the mailbox migration page in the Exchange Online by navigating to Mailbox > Migration in the EAC.
Click through the official Microsoft page for detailed insight into the batch migration process for migrating Exchange Server public folders to Exchange Online. Let’s get back to our topic: validating the success of the public folder migration process. Before that, it is equally crucial to know the underlying reason behind the public folder migration validation.
Why is it necessary to validate the success of the migration process?
Although you can see your migrated mailboxes, public folders, and other items in the Microsoft 365 admin center, their visibility does not confirm successful migration. Instead, you have to perform proper validation to ensure the success of the Exchange migration.
Leaving this crucial step may cause several issues, such as:
- Missing emails and out-of-sync calendars
- Missing public folders or incomplete mailbox data
- Permission mismatches, causing user access disruptions
- Performance issues in Outlook client applications
- Bounced external emails
- Internal routing loops between on-premises Exchange and Exchange Online
- Compliance and governance risks
Moreover, these problems may occur at any time, whether at the outset or even weeks after the migration. Therefore, it is better not to make any assumptions about the success of the migration process, and perform proper validation instead. It will help you to find and fix any issues before the users notice them.
How to Validate the Success of Public Folder Migration in Microsoft 365
Validation of the migration process involves multiple aspects. These include verifying mailbox item counts, mail flow, DNS records, calendar, contact migration, public folders, and many other items. Here, we will focus on validating the public folder migration in Microsoft 365.
During Microsoft 365 migration, public folders are among the most overlooked components. Since users hardly access them, gaps in these folders remain undetected unless used. Here are some crucial points to consider when validating public folder migration.
- Confirm the hierarchy: Validate that the public folder hierarchy in Microsoft 365 matches the source location. The folder name and the nesting structure should be similar in both environments.
- Check folder items: Open the public folders in different branches to verify that all items are present in Microsoft 365.
- Adequate permissions: Every public folder should inherit all permissions correctly from the on-premises Exchange server to the cloud. For example, users with edit access to a public folder on the Exchange server should not have only read-only permissions after migration to Microsoft 365, and vice versa.
- Correct delivery: Send an email to a mail-enabled public folder you just migrated to, and check whether it reaches the intended destination. If it does, the delivery works and the Exchange migration is a success.
- Subfolders: Check whether you can access the subfolders within the public folders and whether any folder items are missing.
- Count the public folders: The total number of items in the public folder tree at the source location should match the count in the migrated destination. You can perform this task through PowerShell commands. This method is more reliable and quicker than manually opening every public folder.
Public folder migration with automated validation
The native Exchange public folder migration requires administrators to have in-depth technical knowledge to perform PowerShell scripting and manual configuration. It also requires experts to perform pre- and post-migration validation. By using a dedicated Exchange migration tool, admins can streamline the entire migration process.
For instance, Stellar Migrator for Exchange can automate many of the tasks involved in public folder migration workflows, such as mapping, scheduling, and reporting. This eventually reduces the need for manual scripting and simplifies migration management. Alongside this, it helps ensure migration accuracy, data integrity, and compliance.
Conclusion
For Exchange public folder migration, Microsoft SE can be a suitable option. It will keep the data in your on-premises Exchange on a subscription basis and allow you complete control over the Exchange environment. However, migration to the cloud (Microsoft 365) is a better option if you want to avoid management hassles and get automatic updates. It also protects the mailboxes and public folders from vulnerabilities, compliance challenges, and infrastructure management overhead.
Notably, validation of public folder migration to Microsoft 365 is crucial to ensure its successful completion. Avoiding this step could lead to severe consequences, including permission mismatches, bounced external emails, missing emails, compliance issues, and more. During this step, the admins verify the migration across several aspects, such as confirming the hierarchy, checking folder items and subfolders, validating permissions, ensuring correct mailbox delivery, and so on.
To perform these tasks, the administrators need in-depth knowledge of PowerShell scripting and manual configuration. Using an Exchange migration tool can help to reduce administrative effort. For example, Stellar Migrator for Exchange can streamline migration tasks while maintaining data integrity.
Popular on OTW Right Now!



About The Author

Gagan Bhangu
Founder of otechworld.com and managing editor. He is a tech geek, web-developer, and blogger. He holds a master's degree in computer applications and making money online since 2015.