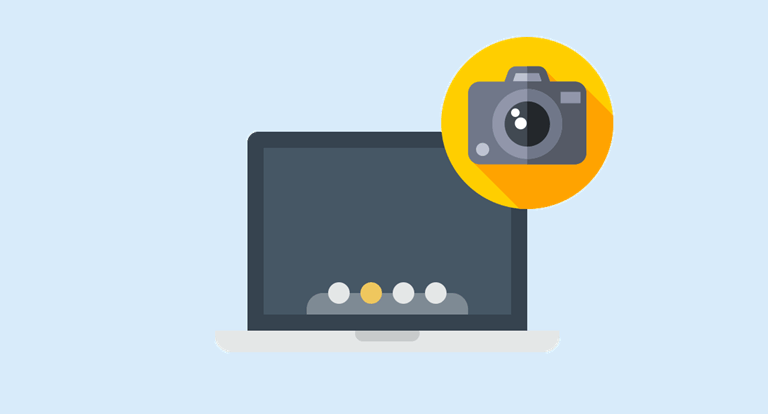
How to Connect a Photo Camera to a Mac?
Getting photos off your camera and onto your Mac should be the easy part of your photography workflow. Yet for many users, it turns out to be surprisingly frustrating. Cables do not cooperate, the Mac does not recognize the camera, or the built-in apps do not offer the flexibility needed to work with files the way a photographer actually wants to.
If this sounds familiar, you are in the right place. This guide walks you through how to connect your photo camera to a Mac, why the standard approach often falls short, and how a dedicated tool can make the whole process smoother.
How Cameras Connect to Mac: The Role of MTP
Most modern digital cameras communicate with computers using a protocol called MTP, which stands for Media Transfer Protocol. It was designed specifically for multimedia devices, cameras, MP3 players, portable recording equipment, and allows them to transfer photos, videos, and audio files to a computer without the computer needing to treat the device as a full storage drive.
When you connect your camera to your Mac using USB, it normally advertises itself as an MTP device. To be able to read the files of the camera, your Mac must know this protocol. MTP is supported on Windows operating systems and is provided as an operating system default feature. However, MTP support is not extensive on macOS. This is the reason why many photographers have been experiencing the fact that, after turning on the camera, the camera will simply not be visible in the Finder.
The Native macOS Method
macOS does have a built-in application called Image Capture that can detect connected cameras and allow you to import photos. Here is the general process:
- Connect your camera to your Mac using a USB cable.
- Turn the camera on and make sure it is set to the correct transfer mode (often labeled “PC” or “PTP” in the camera settings).
- Open Image Capture from your Applications folder.
- Select your camera from the left panel and choose where to save your photos.
- Click Import All or select specific images to import.
This is good enough when all you need to do is have lots of photos off the camera. But Image Capture is not a file manager. There is no free browsing of the folder structure of the camera, renaming of files prior to importing, or transfer of files in any or both ways. It is all well with basic home use. It is lacking in professionals or any other person who requires better control.
A Smarter Approach: Using MTP Software for Mac
Rather than fighting with Image Capture or searching for the camera in Finder, a dedicated third-party solution handles the job far more effectively. Commander One is a dual-pane file manager for Mac that includes full support for working with an MTP device on Mac.
After installing Commander One and turning on the MTP extension in its preferences, when you connect your camera, it is a whole new experience. The camera is represented in the interface of the app as a mounted drive, like an external hard drive or a USB drive. It is possible to:
- Browse your camera’s folder structure freely, navigating through internal storage or memory card directories.
- View photos directly in the app without copying them to your Mac first, which is useful for quickly checking what is on the card.
- Transfer specific files rather than importing everything blindly, great for keeping your Mac storage organized.
- Move files in both directions, copying photos to Mac or moving files from Mac to the camera if needed.
- Transfer high-resolution video files without running into size limitations that some simpler tools struggle with.
The two-pane design comes in very handy here. On the one hand, you can see the contents of your camera. Meanwhile, there are also the local folders of your Mac. The process of transferring a photo is as easy as dragging the photo between one panel and the other, or by selecting files and pressing the copy shortcut. It is precisely the way file management ought to be.
Setting It Up: Step by Step
Getting started with Commander One for camera connections is straightforward:
- Connect your camera to your Mac using a USB cable and power it on.
- Open Commander One and go to Preferences.
- Navigate to the Extensions tab and make sure MTP Devices is enabled.
- Your camera should now appear as a drive in the Commander One panel.
- Browse, preview, and transfer your files however you like.
When your camera does not show up, be sure to check that your USB cable is capable of transferring data (not only charging) and that your camera is configured to transfer data (not charge only) by using MTP or file transfer mode.
More Than Just Cameras
The specific value of Commander One is, though, that it is capable of much more than a photo camera. The MTP support also works with Android smartphones, tablets, GoPro action cameras, e-readers, and MP3 players. You can connect any of these using USB, and they are shown in Commander One as drives to be browsed. It is an application that replaces an entire folder of various transfer applications.
In addition to MTP, Commander One also supports cloud services, such as Google Drive, Dropbox, and Amazon S3, as well as remote servers via FTP and WebDAV. It is among other tools, which prove useful at an unexpectedly fast rate.
Ready to Try It?
If you are tired of your camera not showing up properly on your Mac, or you just want a faster, more flexible way to manage your photos, get it here from the Mac App Store. The Pro Pack comes with a free 15-day trial so you can test every feature risk-free before deciding.
It does not have to be a frustrating experience when connecting a photo camera to a Mac. It is one of the most effortless aspects of all the photography activities you do with the right tool.
Popular on OTW Right Now!


About The Author
Gagan Bhangu
Founder of otechworld.com and managing editor. He is a tech geek, web-developer, and blogger. He holds a master's degree in computer applications and making money online since 2015.