
Data Center Wire Management: How Modern Facilities Keep Thousands of Cables Under Control
If you go into a well-managed data center, the cabling seems rather dull. But if you enter a poorly run one, you’ll notice a rack with two cables crossing, another one lying within a bend radius that it should never have been allowed to reach, and in that case you can’t trace any one cable without pulling half the bundle apart. I’ve examined both types. In the neat one, planning had to be done before any single cable was installed. In the disordered one, however, all the mistakes had been made over the course of years without any of the decisions being reviewed.
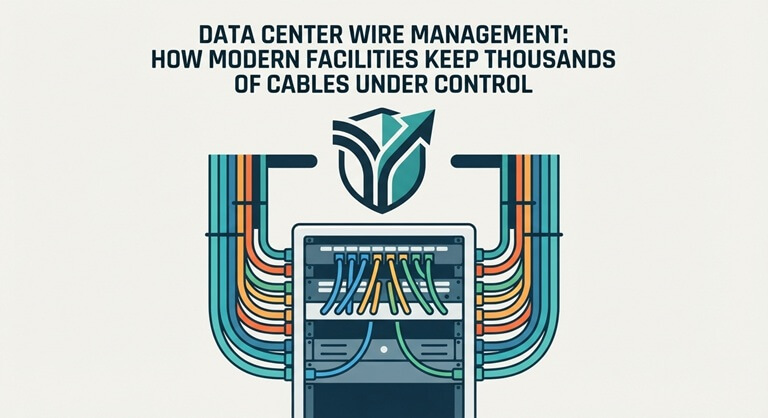
The aim of this article is for you, by the time you reach the end, to understand how facilities handle the routing, labeling and securing of cabling, what a service loop really offers, and which practices gradually ruin a cable bundle over time. It is not necessary for you to be in charge of a hyperscale campus in order to apply any of these points; a server room with twelve racks will benefit just as much from following this discipline.
What You Are Really Managing
The idea that cable management is all about neatness is a misconception; it’s actually more related to thermal and airflow engineering, with a small element of documentation thrown in. As air passes through a data center, a solid wall of cables obstructs its flow. It’s true that no one places a server in the floor of a hot aisle and then is surprised at why everything ends up being hot, yet many people do create a dense spaghetti-like bundle across the rear of a rack and are then puzzled as to why the intake temperatures continue to rise.
You are also managing three practical things at once:
- Access so that a technician can remove rack unit 22 in five minutes instead of fifty.
- Traceability, so anyone can follow a cable from patch panel to switch without a tone generator.
- Mechanical stress, so cables and connectors survive the next five years of moves and changes.
The three objectives contradict one another. It is simple to trace out tight bundles but quicker to modify loose ones. Each actual decision involves a compromise between the two, and the correct choice depends on how frequently the rack changes.
Three Standards Worth Knowing About
You do not need to memorize anything, but you should know where the rules come from. The Telecommunications Industry Association publishes the cabling standards that most data centers in North America work against, covering pathways, spaces, and administration. The Uptime Institute sets the tier framework that shapes how redundancy and serviceability get designed into a facility. And the National Institute of Standards and Technology publishes security and infrastructure guidance that influences the physical layer of plenty of facilities that have nothing to do with the federal government.
It would probably take you a whole week to read them through. However, it’s worth spending an afternoon going over the sections that deal with cable routes, the labels, and the documentation, since it is there that most audits and troubleshooting come to a conclusion.
Labeling: The Habit Everyone Skips First
Labels are boring, and that is precisely the reason they are ignored. If you skip them, you end up with a museum of your previous self.
I came across a genuine situation like this. There was a rack containing a group of 24 fiber patch cords extending from a panel to a top-of-rack switch, six of which were dark since no one knew what they connected to. We devoted two hours to toning one cable only to discover a dead port on a switch that had nothing to do with it; altogether, the time lost was half a day, simply because no one had ever printed a label.
A basic labeling pass you can run this month:
- Pick one scheme and put it in writing—source, destination, and a circuit ID, or something equally simple. Consistency matters more than cleverness.
- Label both ends of every cable. Not one end. Both.
- Label at the point of connection, not mid-run. Labels drift when someone slides a bundle.
- Photograph the rack after the pass. You will then have a reference point for the next technician and for yourself.
Routing Without Killing the Cable
All cables have a minimum bend radius and all of them also have a maximum pull tension. If you make an incorrect guess about either of these two figures, you will either break the fibers or reduce the operational life of the copper cable.
A general rule that installers pick up is that the minimum bend radius is about a number of times the cable’s outer diameter, with stiffer types of cable requiring more space than flexible ones. It’s not necessary to be exact on the first day; merely avoid routing the cables around bends that would cause the jacket to take on a star shape.
Be careful when it comes to the physical fastening. In modern racks, hook-and-loop straps and cinch straps have almost entirely taken the place of zip ties, and this is for valid reasons since they can be reopened without having to cut them, they spread the pressure more evenly, and they allow you to adjust a group of cables rather than making a permanent commitment. Although cable ties still have a use in cases where a permanent and low-profile hold is required, in a rack that is being modified every quarter, you will want something that can be undone.
The way in which you route the cables is just as important as the manner in which you hold them. By using top-of-rack switching, a great deal of the cabling is moved upwards and out of the way of the server faceplates. Rear cable managers, vertical troughs, and appropriate cable hangers mean that the cable bundles are kept off the hot aisle floors and away from the cabinet doors. With regard to the rack, a small amount of slack along the cable path helps to absorb vibration and allows the server to be slid out without having to pull on the connector.
Securing the Bundle: Where Gear Choice Shows Up
This is where data center wire management gets hands-on. The bundle above your servers only stays where you put it because something is holding it, and the choice of strap, tie, or hanger determines how much you fight the rack the next time you have to change something.
Although choosing a fastening device is not an exciting task, it is the stage at which good planning either succeeds or fails. Different types of fastenings — such as hook and loop ties, cinch straps, wire wraps, and cable hangers — each address a slightly different issue. A cable hanger is used for supporting a group of cables above. A cinch strap is used to fasten a bundle to a rail. A wire wrap holds a small subgroup together while a technician is working around it. Selecting the appropriate fastening for the correct position makes all the subsequent steps much easier.
Two practical habits I would pick over any product selection:
Leave some extra length; a service loop, about a foot in length and neatly tucked away, will help you when the time comes to move that rack unit.
It is never a good idea to combine different types of cable together. When data and power are bundled together, this causes a great deal of difficulty when trying to troubleshoot the problem, and on the copper side it can lead to noise being introduced into lines which should have remained free from noise.
Dressing for Change, Not for Looks
A rack designed for a photograph session might in fact be one designed for failure. When the cables are tight enough that no one is willing to handle them, then no one will be. The following technician will run a new cable alongside the existing bundle since it is quicker to do so than to disturb the original one. Six months later you will have two bundles instead of one.
In each bundle, leave some extra space. When choosing cable managers, select one whose capacity you won’t use on the first day. The patch cord you use should be a little longer than the exact distance, not one foot shorter. Although the appearance is important, it should be a result of how easy the rack is to work in, not the main objective.
Documentation is just as important as dressing for change; you should use a spreadsheet, establish a labeling system, and take a photograph after each pass. The next person who works on that rack will appreciate your effort, and sometimes that next person will be you yourself, working at 2 a.m. and trying to remember which port you patched the previous quarter.
This isn’t complicated at all; it’s simply a matter of combining a number of small and steady habits so that a rack that is growing doesn’t end up being a salvage job. Begin by attaching labels, take the bend radius and airflow into account, and choose fastenings that you can undo. Then, when it comes to making changes again in the future, your future self will be considerably calmer. As to which rack in your facility you’d least like to deal with this week, that one should be the one you start with.
Popular on OTW Right Now!




About The Author

Gagan Bhangu
Founder of otechworld.com and managing editor. He is a tech geek, web-developer, and blogger. He holds a master's degree in computer applications and making money online since 2015.