
Make the First Frame Before You Make the Video: A Two-Step AI Video Workflow
If you’ve used any of the text to video tools you’d probably be familiar with the process. You write a prompt, you wait for the clip and something’s always off. The room might be wrong, the character might be facing the wrong way, the framing might cut off what you actually wanted to show. So you go back and re-write the prompt and try again in the hope that it will work.
The problem is that one text to video prompt has to determine both what the scene looks like and how it moves. If something goes wrong it’s very difficult to work out where the failure is. Fixing those issues can be a very slow and expensive process.
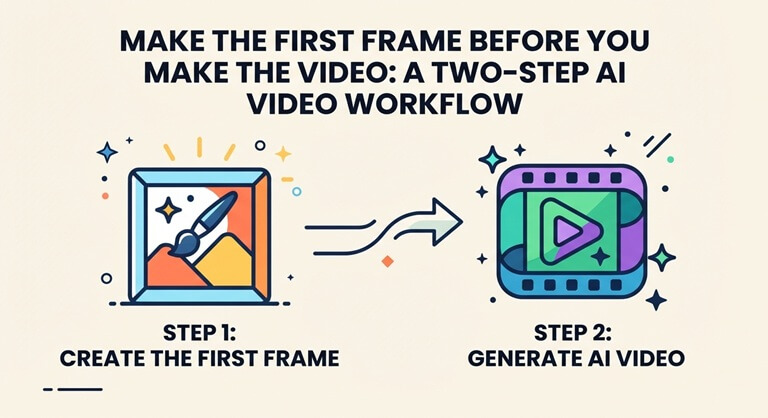
The solution I use is pretty simple actually and works a treat. Split it into two steps. Get the still image absolutely right first, then animate it.
Why splitting the problem helps
Anyone with a software background will be familiar with this approach. If a function does two things and the outcome is bad then you split the steps up so you can test each one individually. AI video is no different.
Firstly get the composition right: subject, location, lighting, camera angle and framing. Secondly, deal with motion: what’s moving, how fast it’s moving, and what the camera is doing. Once you’ve got your first frame sorted then the video prompt only needs to tell you what changes. Any problems that arise afterward are motion problems, and those are far easier to fix.
There’s also a cost benefit. Images are faster and cheaper to generate than videos (and in some cases are free). It’s better to work out your composition with images first and then use video credits only when you have a frame that you like rather than just paying for a video to find out the background is wrong.
Step one: draft the frame
For quick drafts, I use a free GPT Image 2.5 generator that runs without an account or a card. You type a prompt, pick an aspect ratio and download the result at 1K, which is plenty for a first frame that will become a short clip. The free page works from text only, so if you need to guide the image with reference pictures, you will have to move to the full workspace, but for blocking out a scene it does the job.
A few habits can make this step more effective:
Choose the aspect ratio at the outset. If you’re making a video for a phone (i.e. vertical) then generate the still at 9:16. Cropping a landscape frame later is a waste of effort and asking a video model to extend a frame can lead to all sorts of undesirable outcomes.
Make sure there’s space for movement. If someone’s going to turn their head or walk forward then you need to leave space in the frame. If the subject is right up against the edge of the frame, then they’ve got no room to move.
Keep your key details large and simple. Small objects, fine detail and tiny text are all prone to getting distorted when the frame moves. If you’ve got a logo or label that needs to be legible then it’s better to add that in post rather than as part of the generated frame.
Create a few versions and pick carefully. Think of it as choosing a thumbnail. Look for the frame that tells the story before anything has even happened.
Step two: animate the winner
With a frame you like, move to an image-to-video generator and upload it as the starting image. Now the prompt can be short and specific, because the model does not have to imagine the scene. Describe only what changes: “steam rises from the cup, the camera pushes in slowly”, or “she turns toward the window and the curtains move slightly in the breeze”.
I start with the shortest clip and lowest res to check the motion is OK. Only then do I go and render the final version. The generator I’m using will show you the credit cost prior to each run so I always know what I’m spending before I go and do a high quality render.
Reading the failures
The big benefit of the two-stage method is that it makes it far easier to identify and rectify problems.
If the scene looks wrong in the video it was wrong in the still image. Go back to step 1.
If the scene looks right but the motion is all wrong, then your motion prompt is probably too complex. Try it down to one action and one camera instruction.
If the faces or objects start to drift during the clip then it’s probably just that the clip is too long for the amount of change you’ve asked for. Try making it a bit shorter or reducing the amount of motion.
If it looks okay but feels flat then the frame is probably too static. You want a still that suggests something is about to happen. Someone in the middle of a step, a door half open, liquid about to pour etc.
When text-to-video is still the better choice
This by no means makes text-to-video useless. For abstract scenes, quick mood checks, and the like, where the actual frame isn’t important, then going straight from text is the way to go. The two-stage process is clearly the better option when the frame is important (e.g., product shots, a character that you need to keep consistent across a number of clips, anything that a client would want to approve).
In those situations, spending 5 minutes on a free still image is the most cost effective troubleshooting you can do.
Popular on OTW Right Now!




About The Author

Gagan Bhangu
Founder of otechworld.com and managing editor. He is a tech geek, web-developer, and blogger. He holds a master's degree in computer applications and making money online since 2015.